Learnings from trying out Zig and Raylib to implement a Game
Learnings from trying out Zig to implement a Game
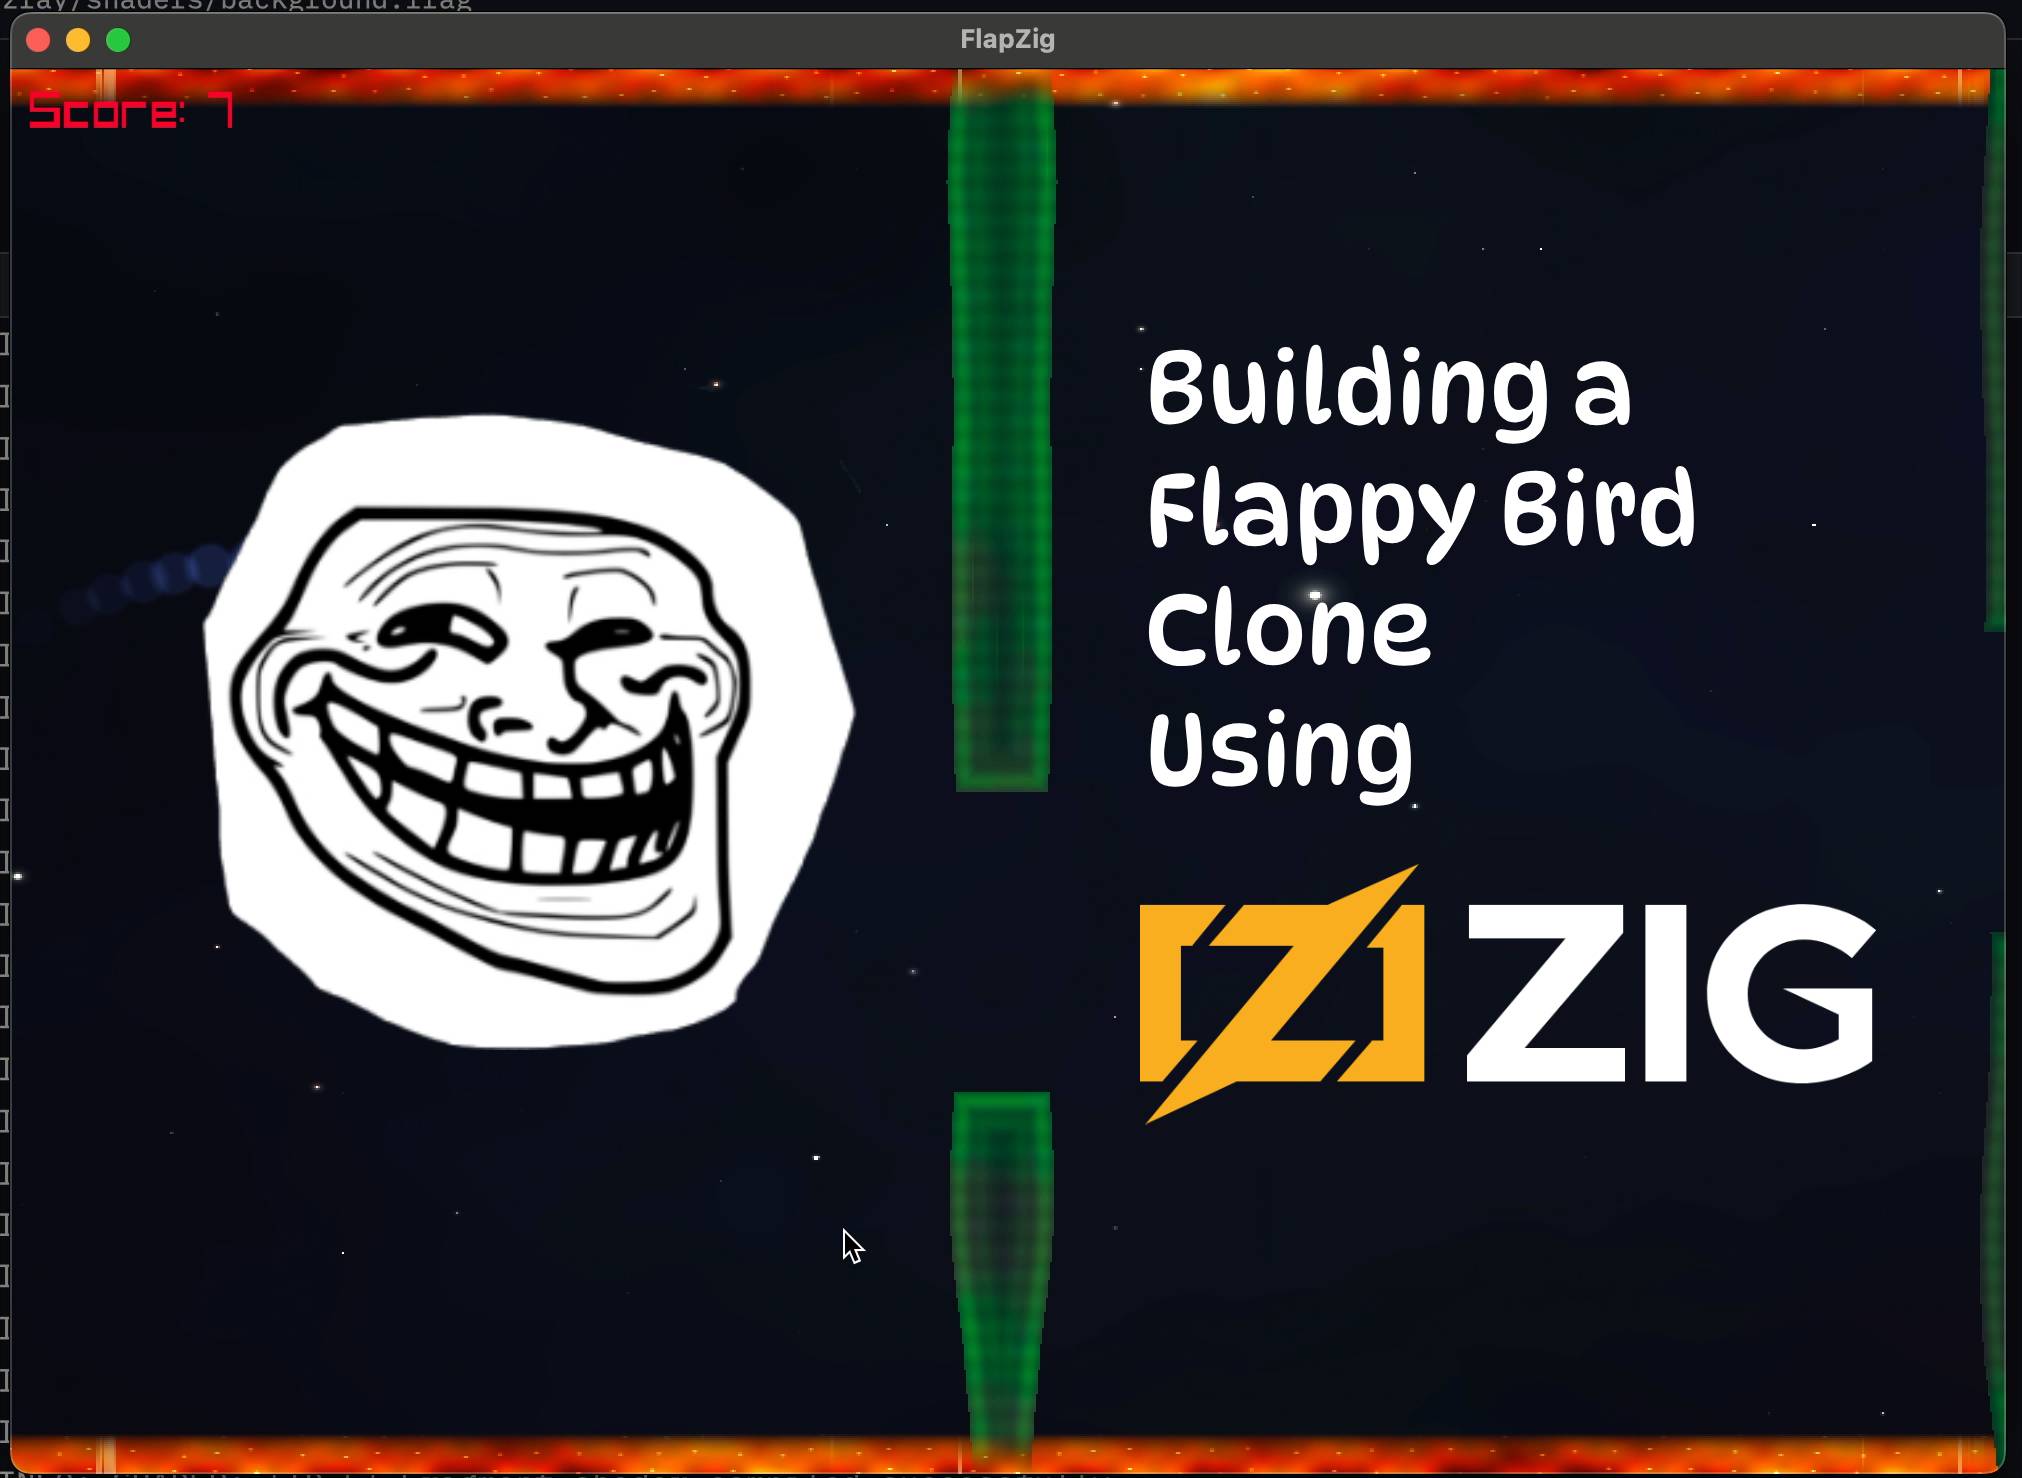
Over the last couple of days, I have been posting about a small flappy bird clone that I had written using Zig, and used raylib via this awesome connector.
Here is a Dev Update about it, feel free to share!
Setting up a zig dev environment is extremely simple
If we just follow the zig getting started guide, it just works. Among the many great things, I love that zig comes with a very nifty CLI that is feature rich, and installing dependencies is mostly decentralized and directly from github repos.
This bypasses the cetralization of an npm like thingy and all the issues the come with it.
mkdir project
cd project
zig init
Raylib feels like a breath of fresh air
When the world is celebrating complexity and ai generated code everywhere, raylib does just enough to be useful, and leaves the rest to us, the engineers. It abstracts the most tedius bits but doesn’t get in the way of doing things. I can certainly see myself using raylib more and more in the future.
And I really enjoyed writing this game using raylib. I had been feeling for quite some time that I wasn’t writing a lot of code, and started relying on LLMs so I really forced myself to write all of the zig code myself. Not the shader files, but the zig bits, the entire game logic.
Zig Build System and Dependency Management is cool
You update your “build” scripts in zig, You want to add a dependency (such as raylib-zig)
zig fetch --save git+https://github.com/raylib-zig/raylib-zig#develHow does the game work?
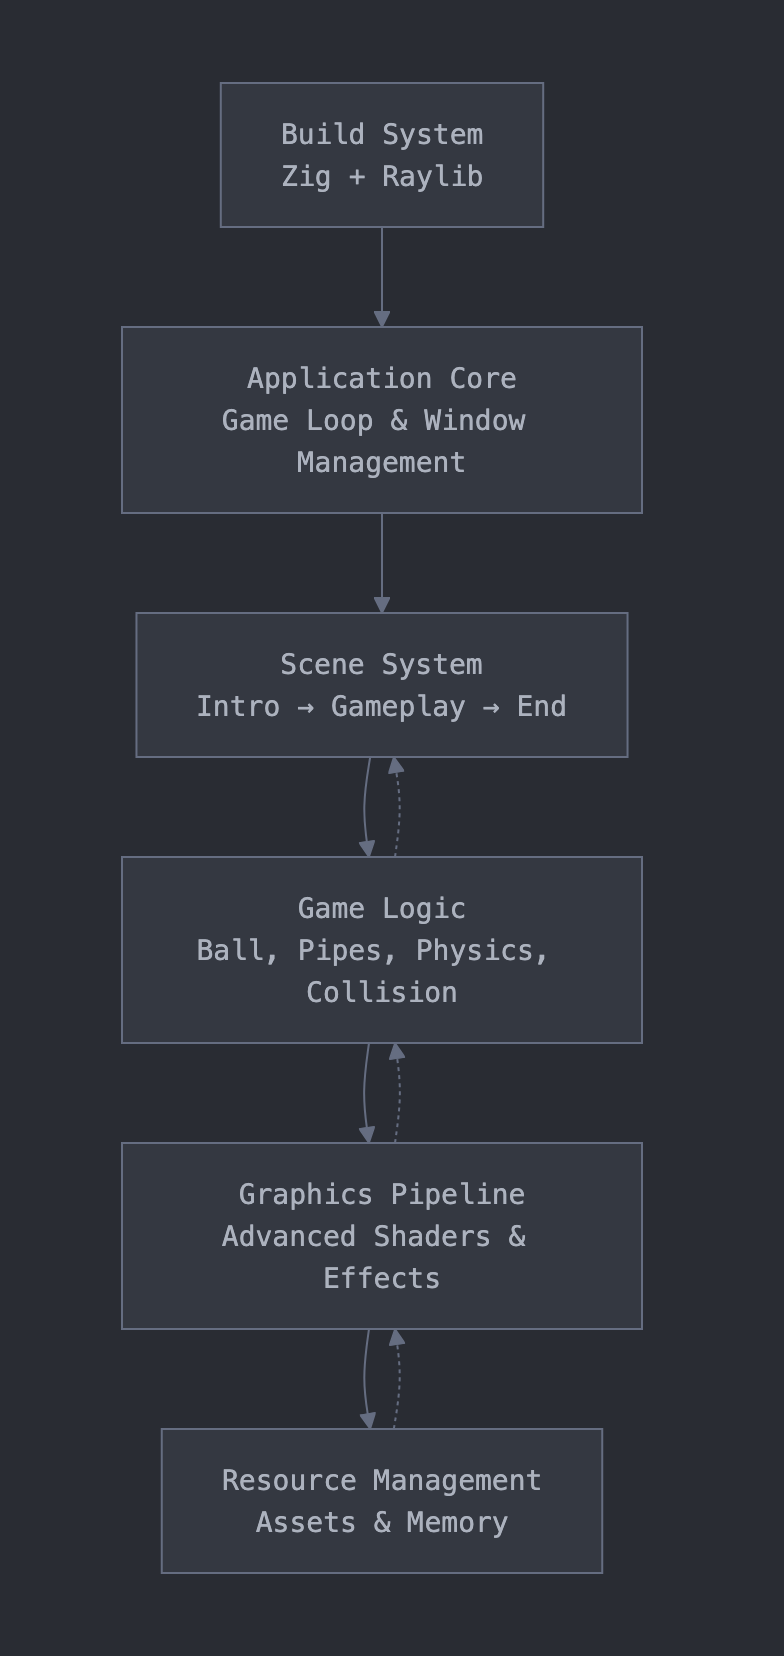
While this isn’t a very advanced game by any stretch of the imagination, it has a few “features”
- A working scene (switching) system
- Loading/unloading of resources such as textures and shaders
- The actual game loop of flappy bird
Core System: The Scene Switcher:
Inside of the main game loop, we update the current_scene if the update returns a scene and we load the appropriate scene based on the result.
The struct itself is stack allocated (and not very large), I just didn’t bother using an allocator for it. For this level of complexity, I felt this does not need heap allocation since I know the number of states (scenes) at compile time and it is rather a small experiment.
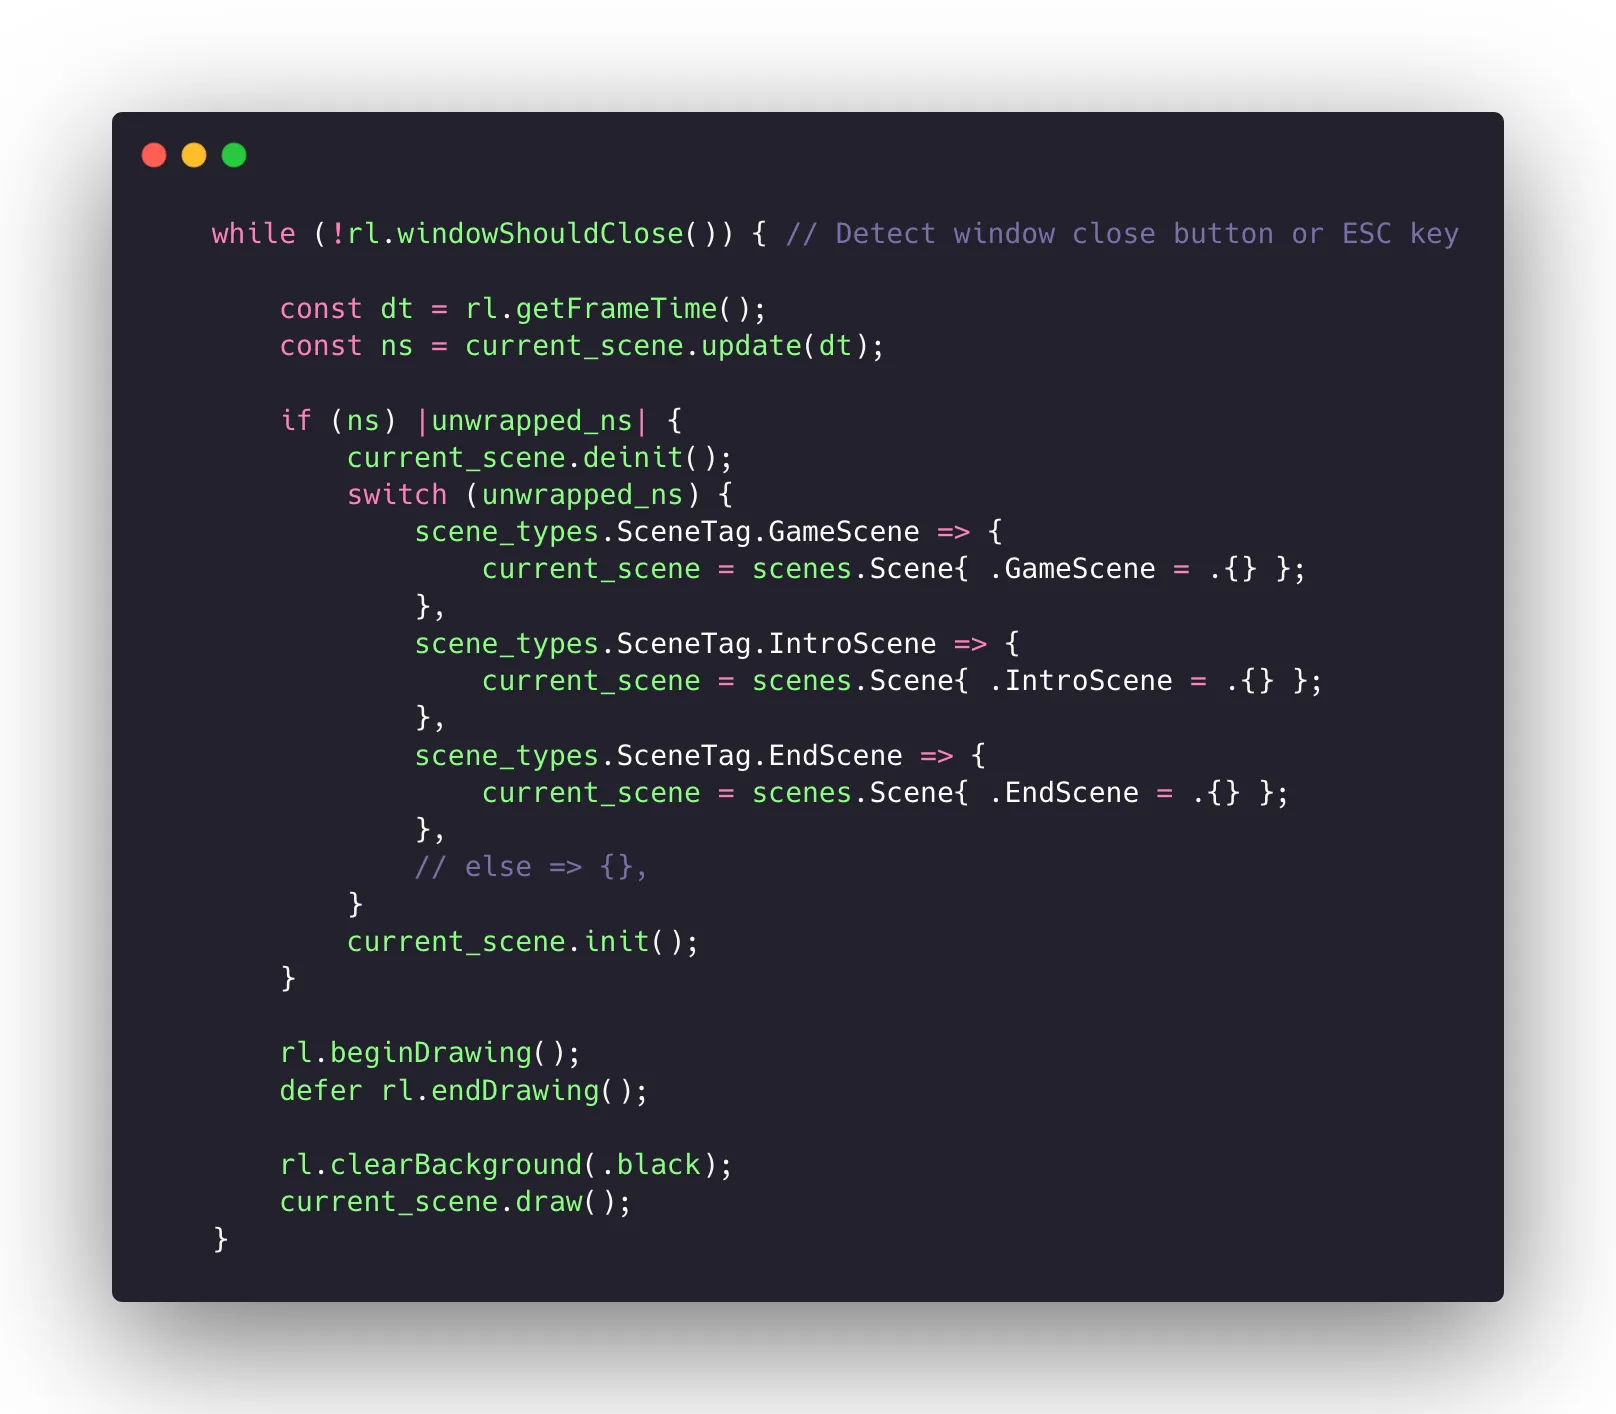
Here, one fascinating thing you might notice is the use of is the following:
if (ns) |unwrapped_ns| {
  ...
}
Here, as you can see, the |unwrapped_ns| bit is a bit weird if you’re coming from a more conventional language. Sicne the variable ns could be null and as we know, null is bad. This syntax enforces a null check everywhere something could be null and the non-null value is stored in zig
The Scene Manager:
Here you might have noticed that, the current_scene changes to one of the many instances of scene based on the unwrapped_ns, and the weird scenes.Scene{ .GameScene = .{} } thingy.
Here comes some cool bits about zig. I have defined an enum called “Scene Tag” like this
pub const SceneTag = enum { IntroScene, GameScene, EndScene };And the Scene is a tagged-union, defined by the enum, so it can take any of the tag’s values to achieve runtime polymophism without unnecessary vtable lookups or indirections during runtime.
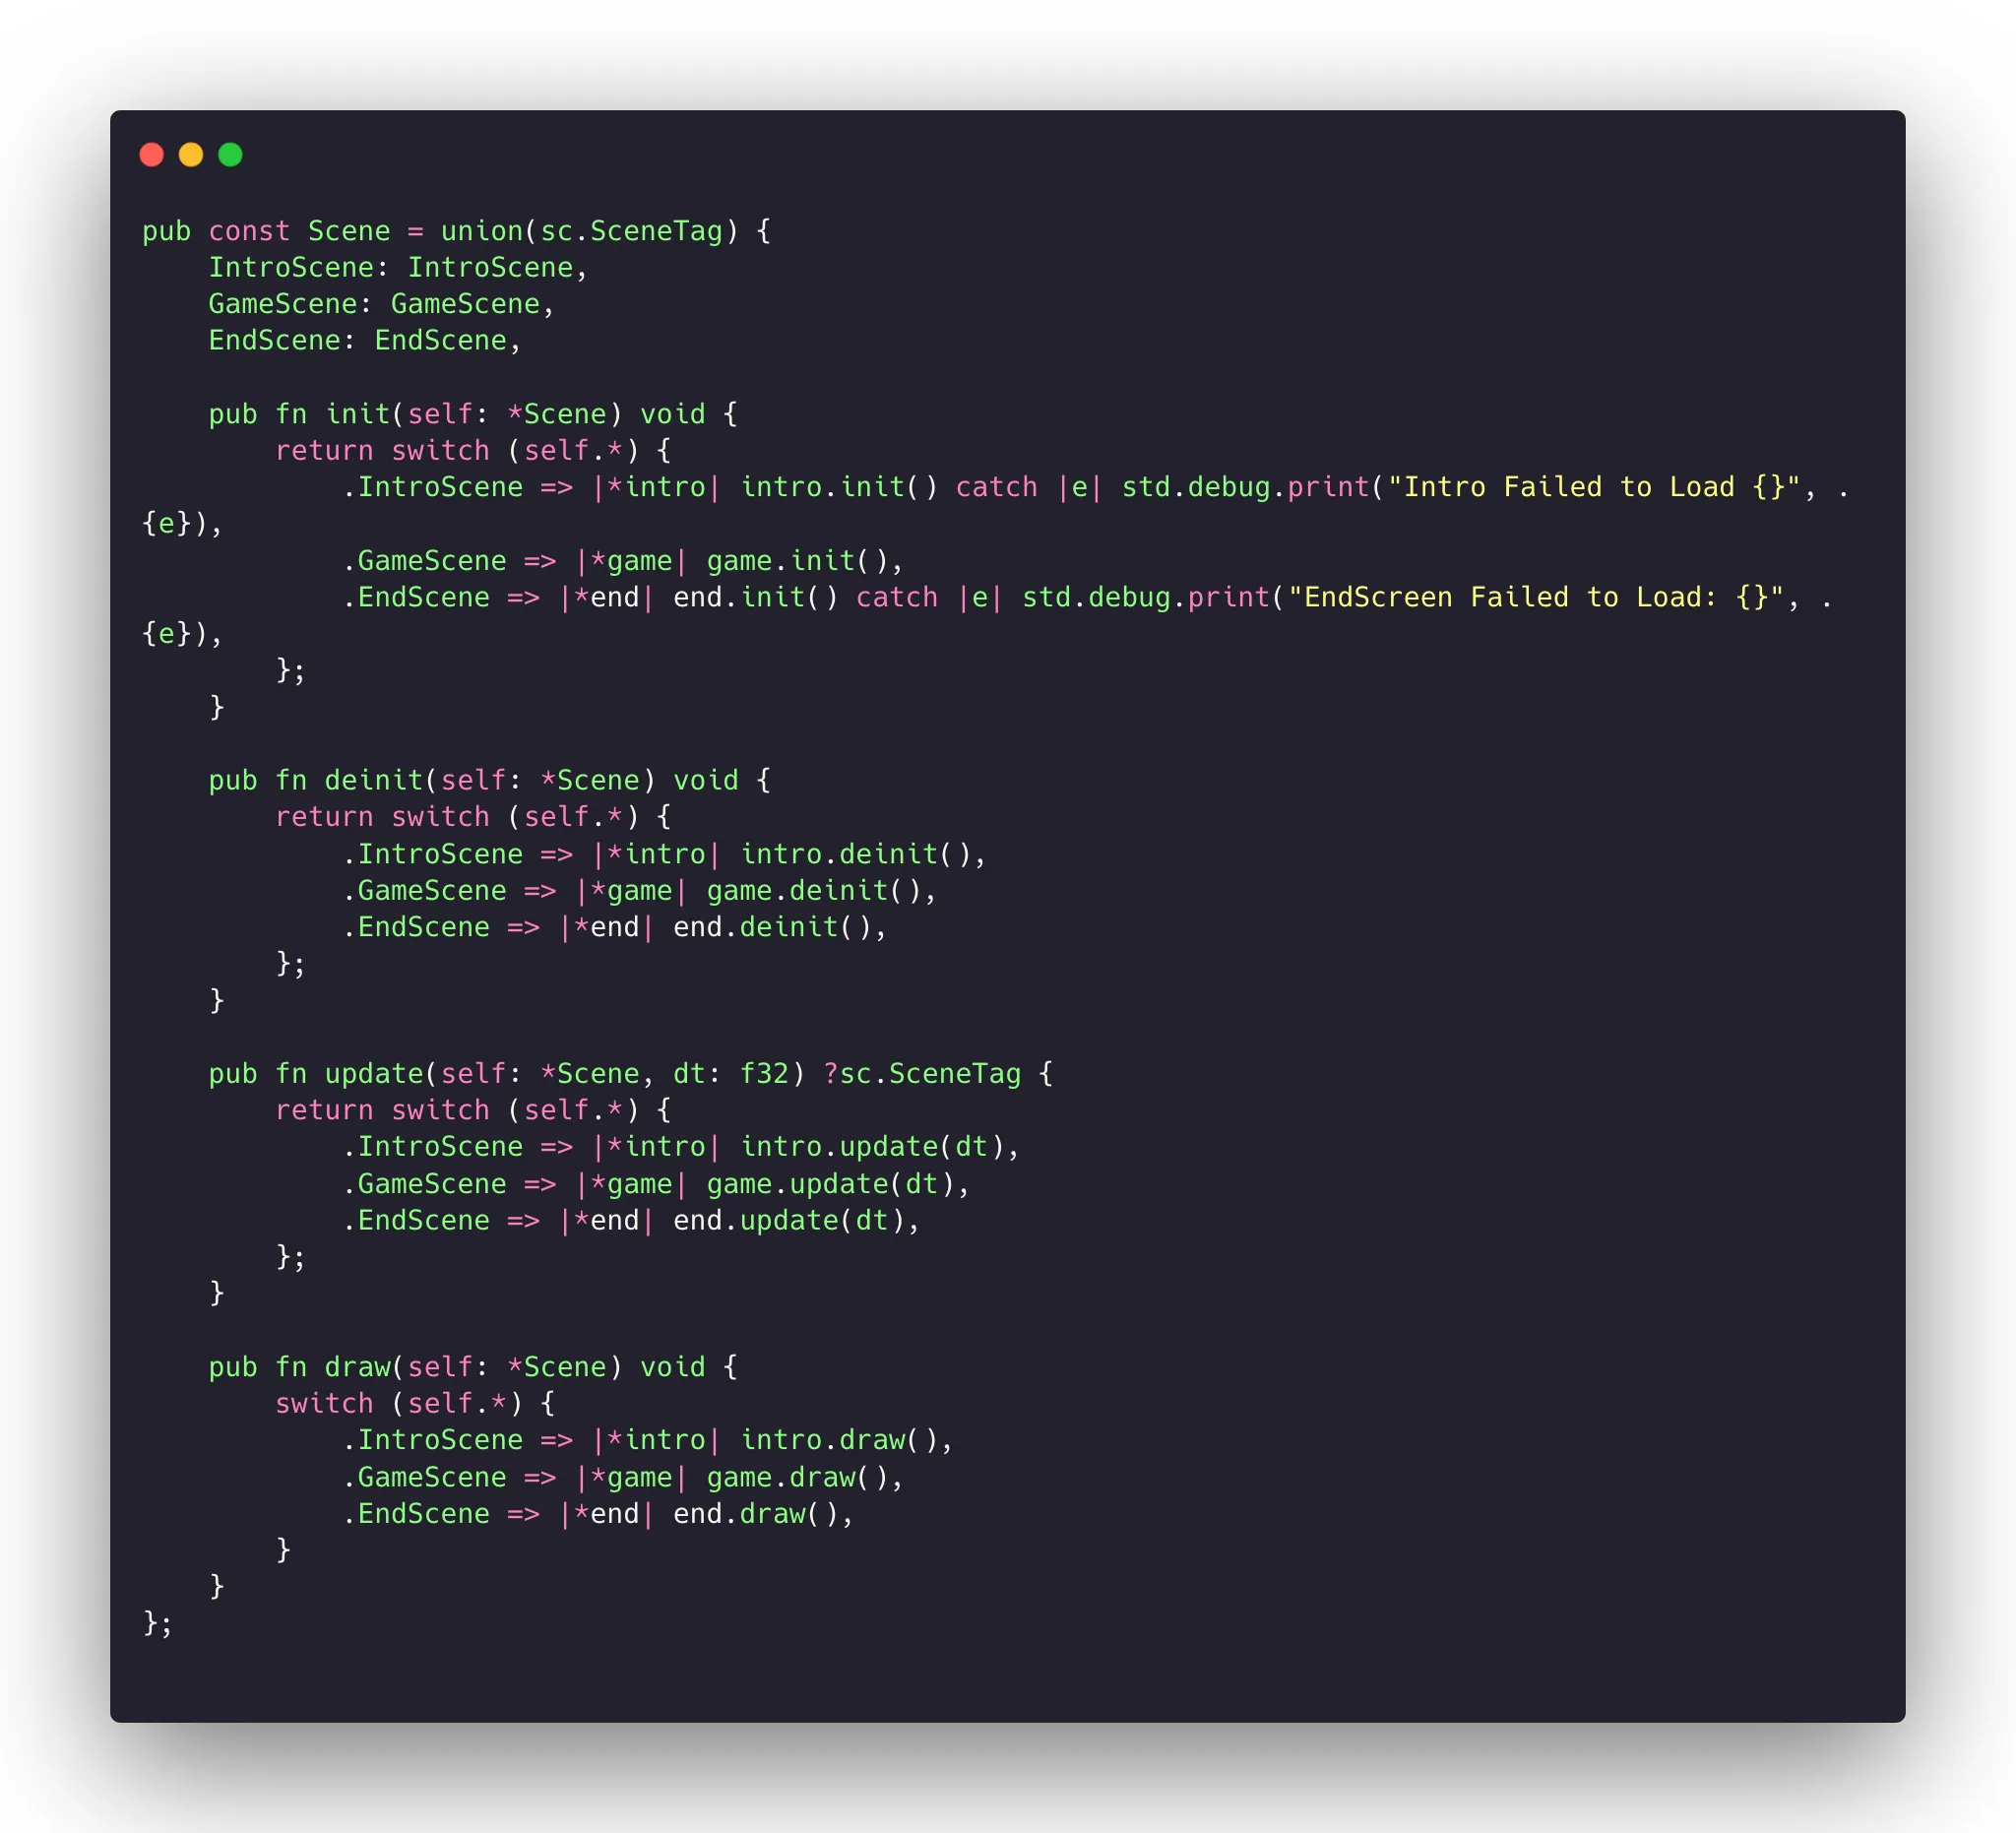
Here, the code mostly looks like boilerplate, with the tag deciding which method gets called when. I really loved the pointer dereference syntax self.* which is actually quite idiomatic in hindsight.
Anatomy of a Scene
For what I’ve written, each scene basically contains all the fields required, and four core functions, almost like following an interface. they are:
- init // for loading resources, heap allocations etc
- deinit // unloading resources and freeing memory
- update(dt) // update the scene state given a delta time
- draw // draw things to the screen, render audio, whatever.
Outside of the trivial init and deinit calls, lets think about the update and draw functions. Each frame, every part of the game gets to (and has to) update its internal state.
Each component gets a dt parameter, which is the measured duration between the last and the current frame. In gamedev, it is a standard practice to multiply most motion vectors with dt or to use this dt parameter as it makes things temporally consistent (things feel smoother).
Nerd bits: due to scheduling, memory or other inconsistencies, not all frames take equal amounts of time. if our game world moved fixed amounts of pixels per frame, they would feel jittery, to overcome that, we use time, fixed amounts of pixels per unit of time instead of frame. In essense, if a frame updates with a slight delay, the game will move a bit more - only for that frame.The Intro Scene
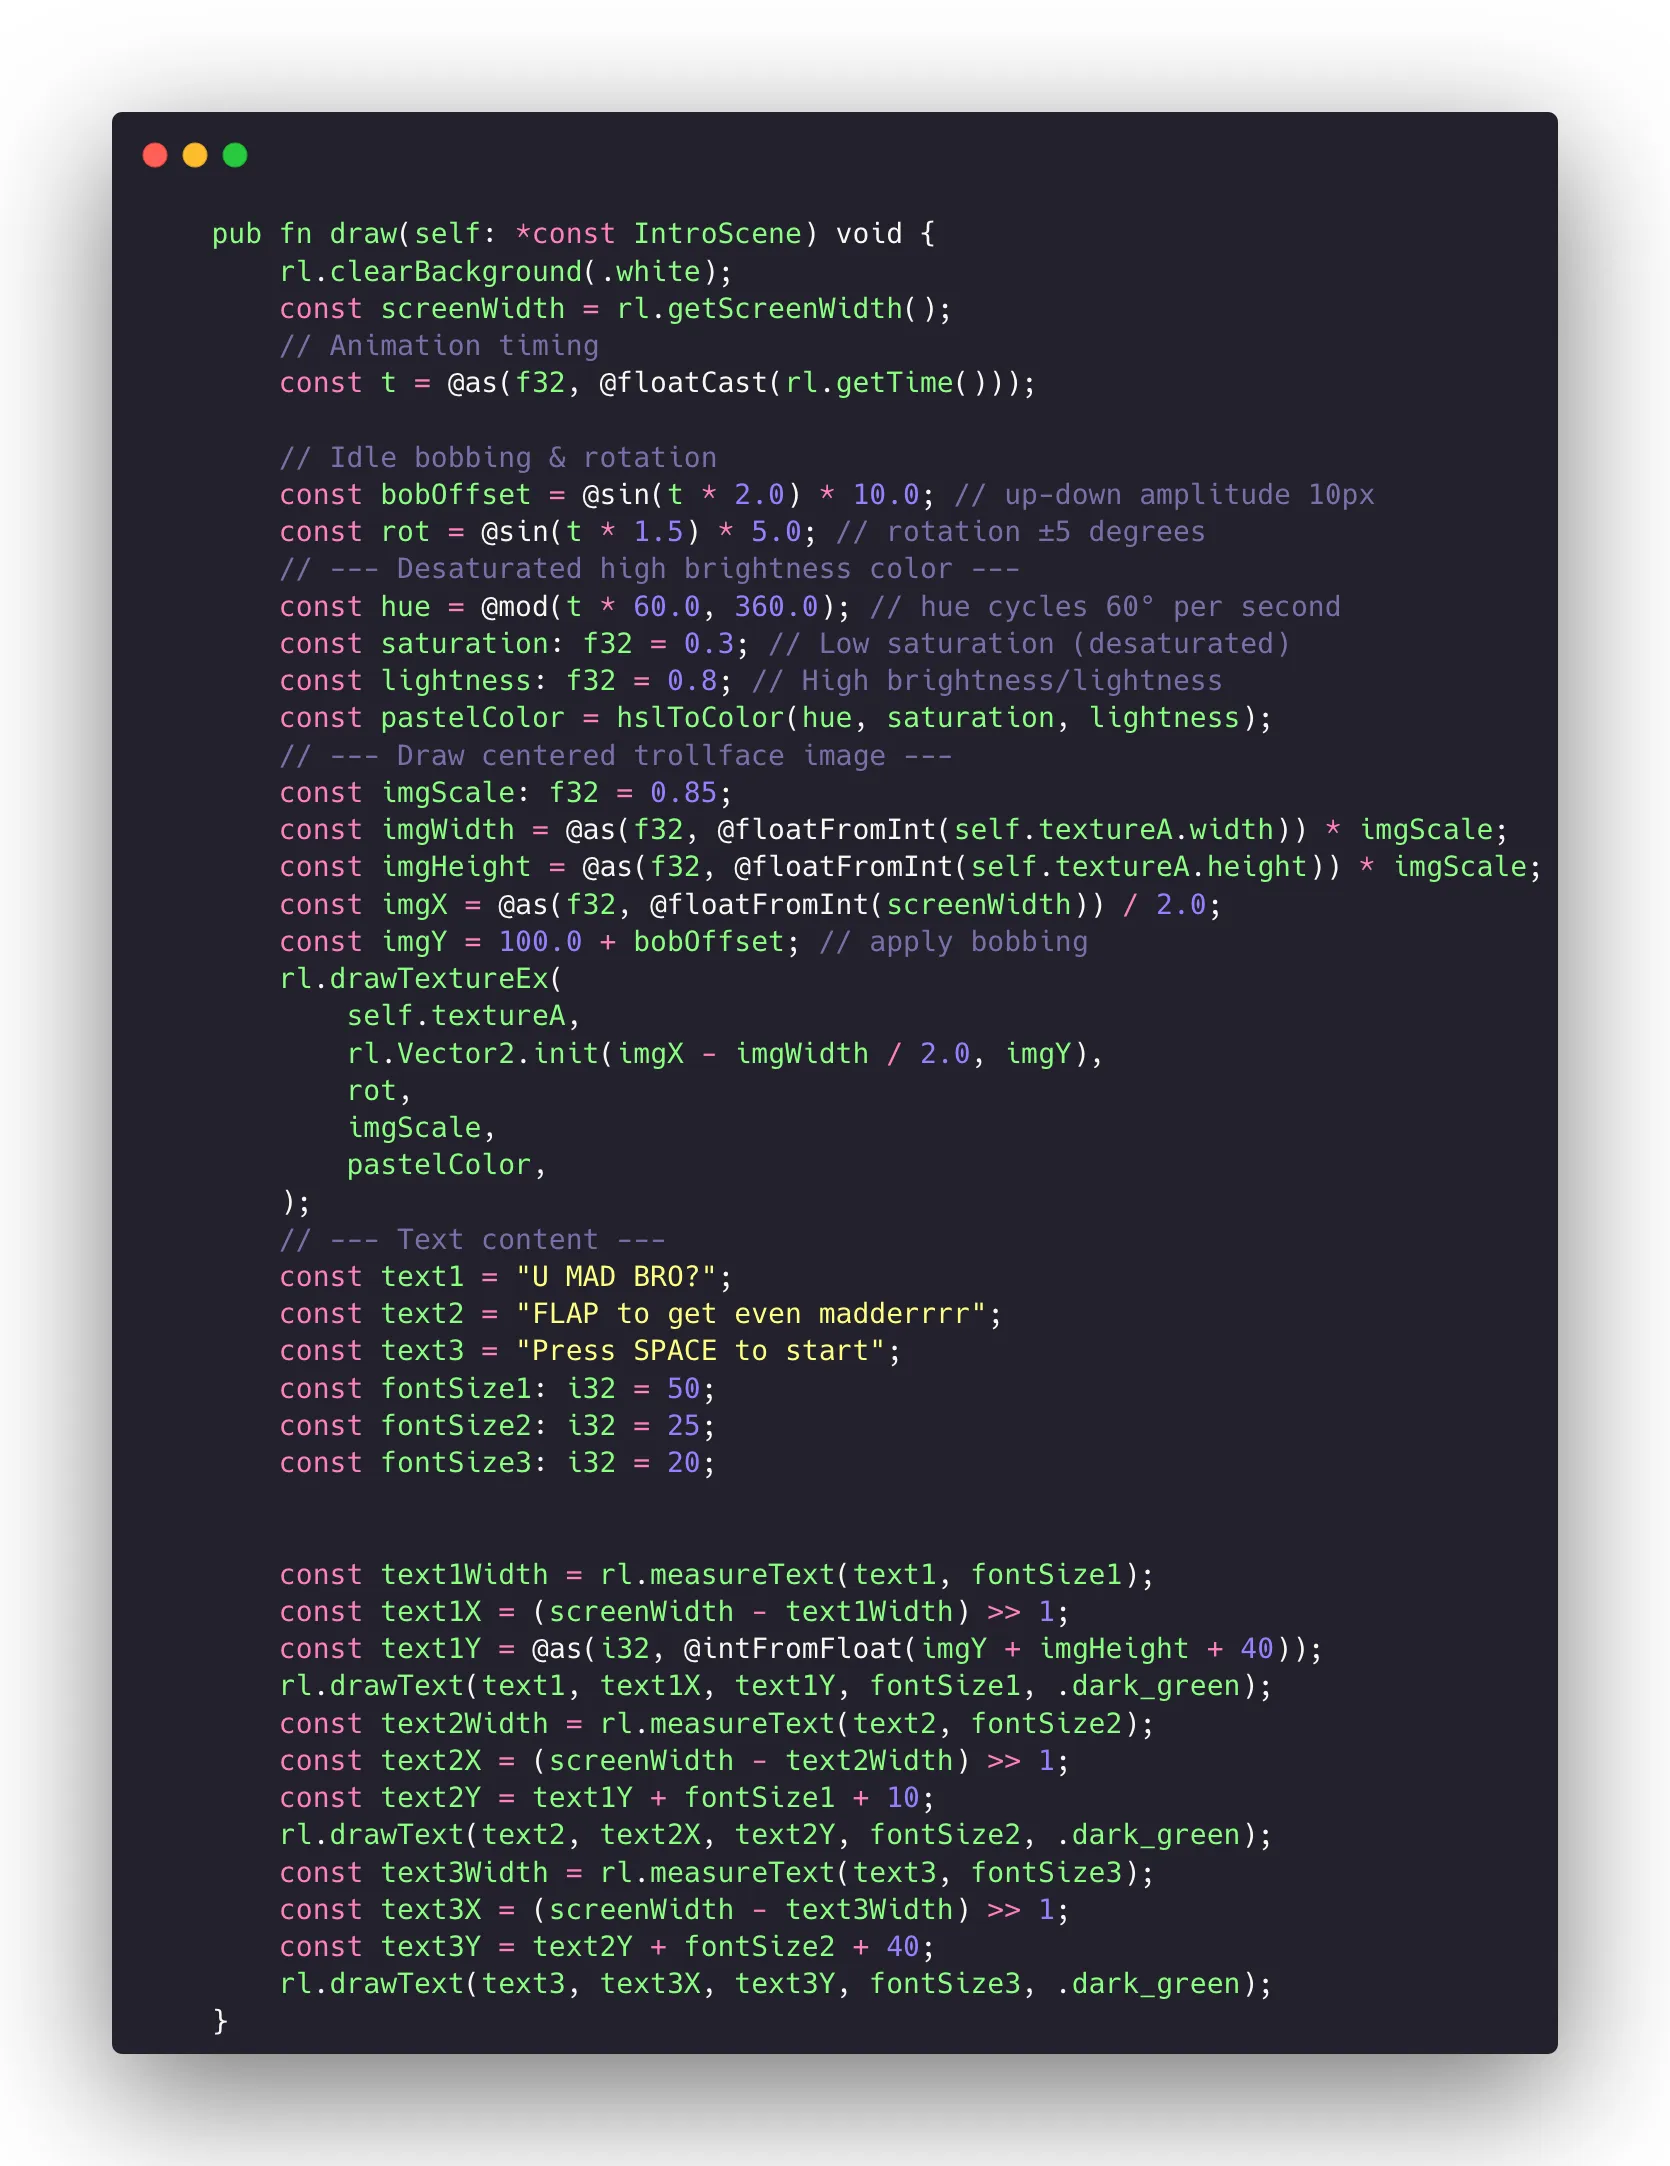
The intro scene doesn’t have much in its init/deinit or update, it just takes the global time and basically uses a parametric equation to implement the bobbing and idle animations.
The only thing the update function does is check for spacebar input and switches to the Gameplay Scene
The dreaded Gameplay Scene
This section discusses the most interesting section of the game, the “core” game mechanic.
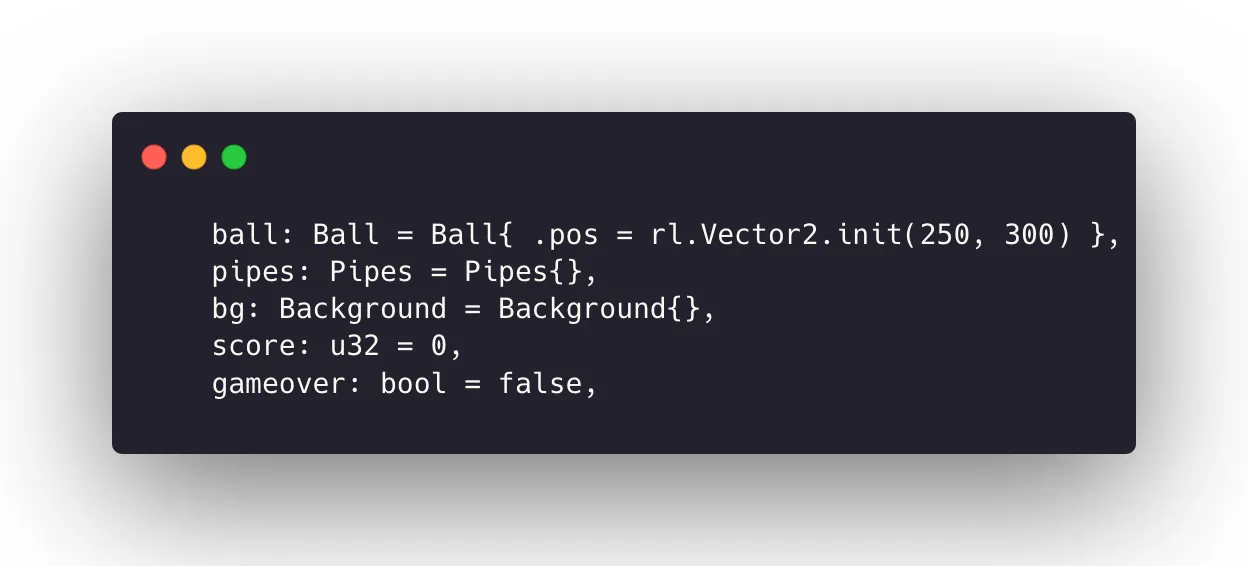
Here, we have the ball or the “player” object, the Pipes controller, the Background (that contains all the stars and parallax calculation), score and a bool flag for tracking if the game is over. And these items are allocated immediately, not on init.
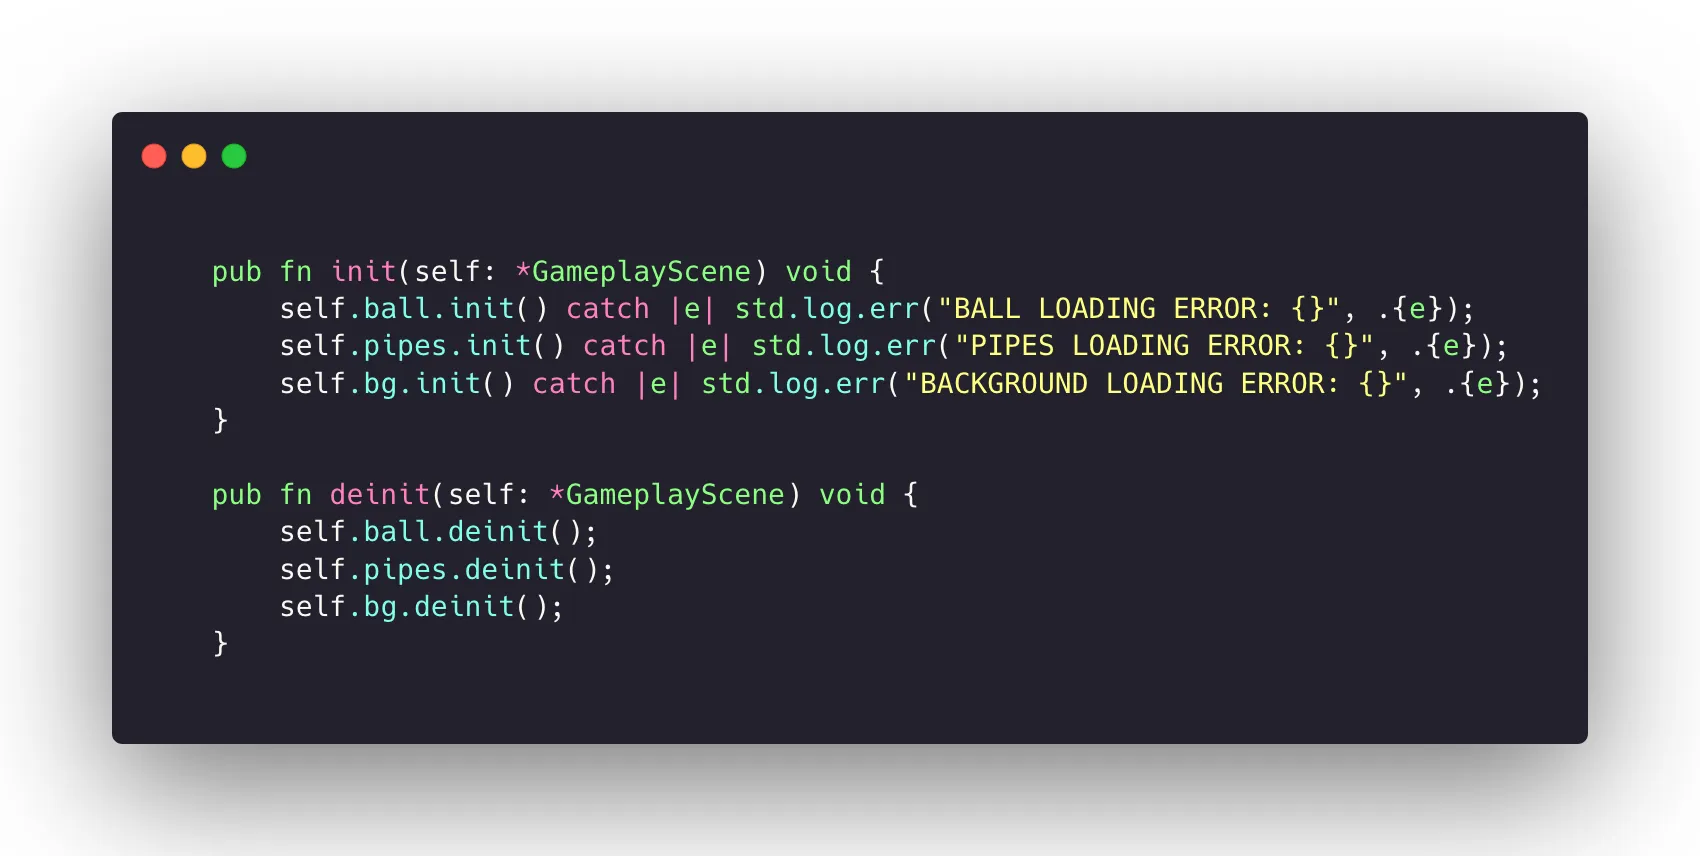
Here, we simply load/unload all the shaders and call it a day for now.
Here, we first call the updates for the sub-systems (Ball, Pipes, Background) and perform the basic physics and gameplay calculations.
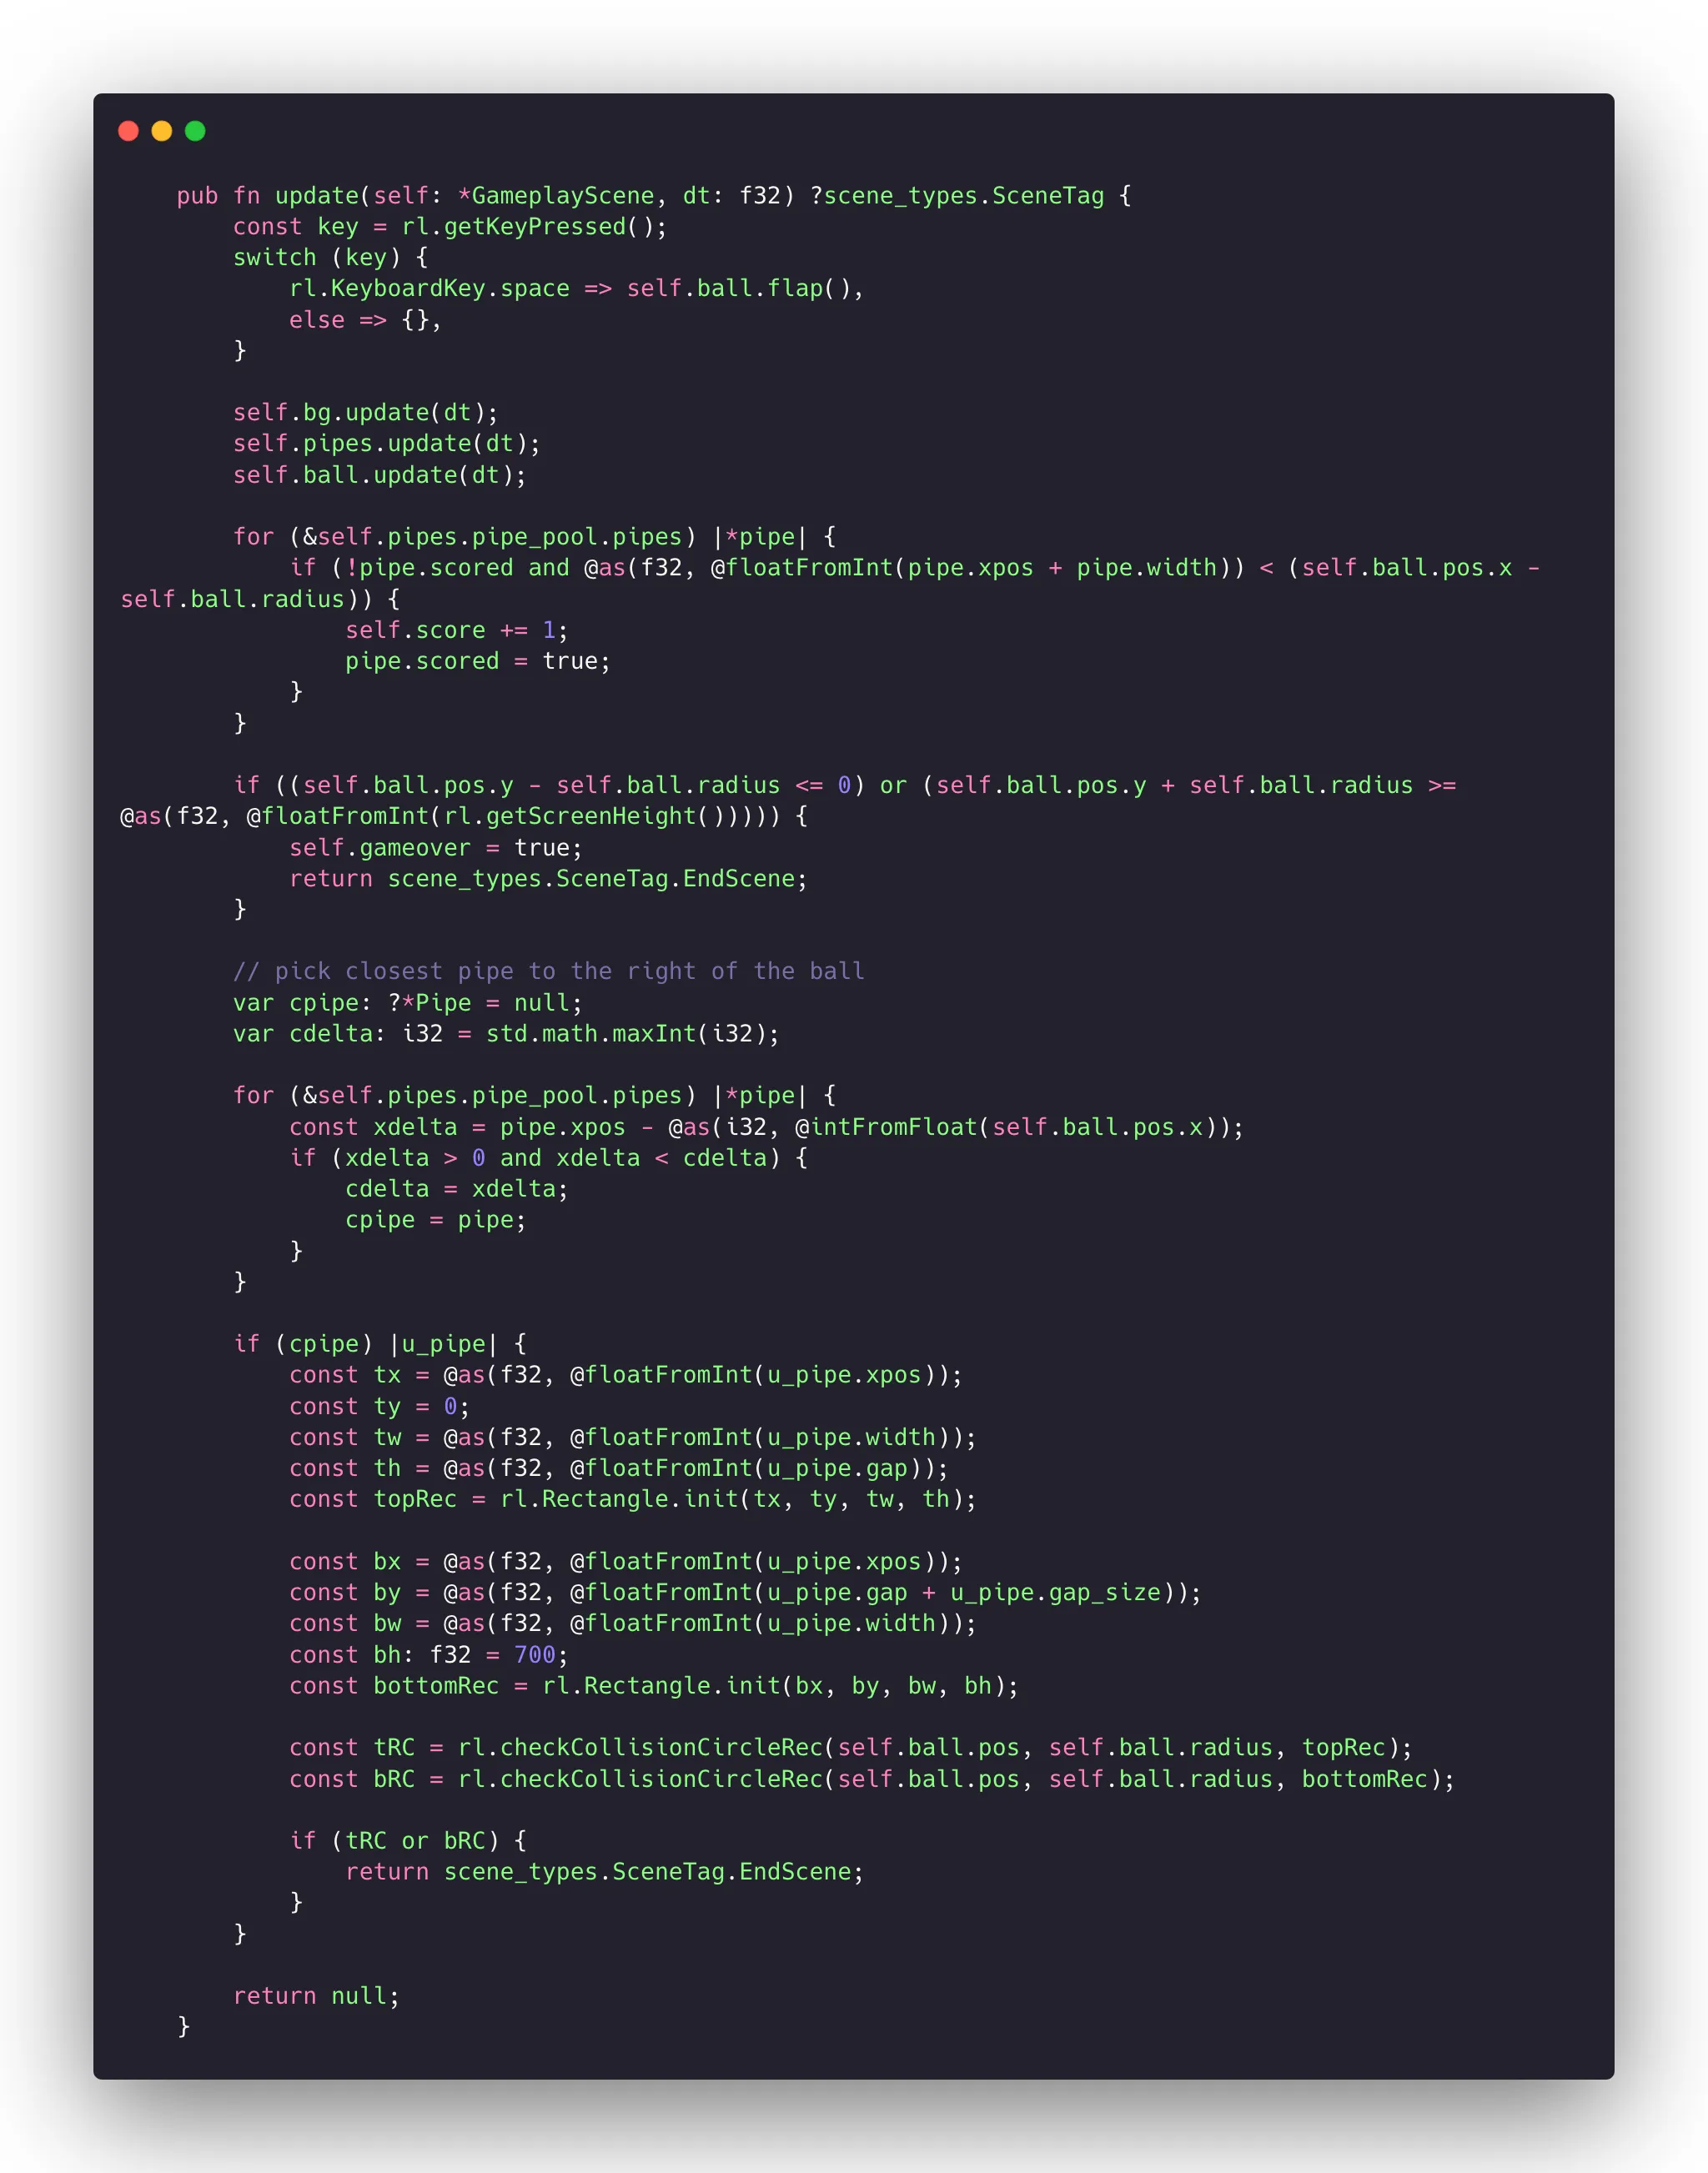
Which are:
Scorekeeping
This part simply checks if a pipe goes past the ball, if it does, it marks that pipe as scored, and adds a point to the tally.
for (&self.pipes.pipe_pool.pipes) |*pipe| {
    if (!pipe.scored and @as(f32, @floatFromInt(pipe.xpos + pipe.width)) < (self.ball.pos.x - self.ball.radius)) {
        self.score += 1;
        pipe.scored = true;
    }
}
Physics Part 1: Floor and Ceiling collision
This part simply checks if the player collides with either the floor or the ceiling.
if ((self.ball.pos.y - self.ball.radius <= 0) or (self.ball.pos.y + self.ball.radius >= @as(f32, @floatFromInt(rl.getScreenHeight())))) {
    self.gameover = true;
    return scene_types.SceneTag.EndScene;
}
Physics Part 2: find the closest pipe to run collision check with only that one
This part finds the closest pipe
var cpipe: ?*Pipe = null;
var cdelta: i32 = std.math.maxInt(i32);

for (&self.pipes.pipe_pool.pipes) |*pipe| {
    const xdelta = pipe.xpos - @as(i32, @intFromFloat(self.ball.pos.x));
    if (xdelta > 0 and xdelta < cdelta) {
        cdelta = xdelta;
        cpipe = pipe;
    }
}
Physics Part 3: Do the actual collision detection
Since each pipe is basically two rectangles, I can check the collision of the bounding circle of the player with that of the box and call it a day.
if (cpipe) |u_pipe| {
    const tx = @as(f32, @floatFromInt(u_pipe.xpos));
    const ty = 0;
    const tw = @as(f32, @floatFromInt(u_pipe.width));
    const th = @as(f32, @floatFromInt(u_pipe.gap));
    const topRec = rl.Rectangle.init(tx, ty, tw, th);

    const bx = @as(f32, @floatFromInt(u_pipe.xpos));
    const by = @as(f32, @floatFromInt(u_pipe.gap + u_pipe.gap_size));
    const bw = @as(f32, @floatFromInt(u_pipe.width));
    const bh: f32 = 700;
    const bottomRec = rl.Rectangle.init(bx, by, bw, bh);

    const tRC = rl.checkCollisionCircleRec(self.ball.pos, self.ball.radius, topRec);
    const bRC = rl.checkCollisionCircleRec(self.ball.pos, self.ball.radius, bottomRec);

    if (tRC or bRC) {
        return scene_types.SceneTag.EndScene;
    }
}

return null;
In an upcoming post, I will explain how I constructed the Ball (with the trail), the Pipes and the Background as well as the end screen.
Thanks guys for reading.